All of these were things I made to give to people for the holidays, which is why I had to wait to put up the recipes, so as not to spoil any gift surprises.
Candy 1: Skillet Toffee (aka Crunchy Candy Toffee)
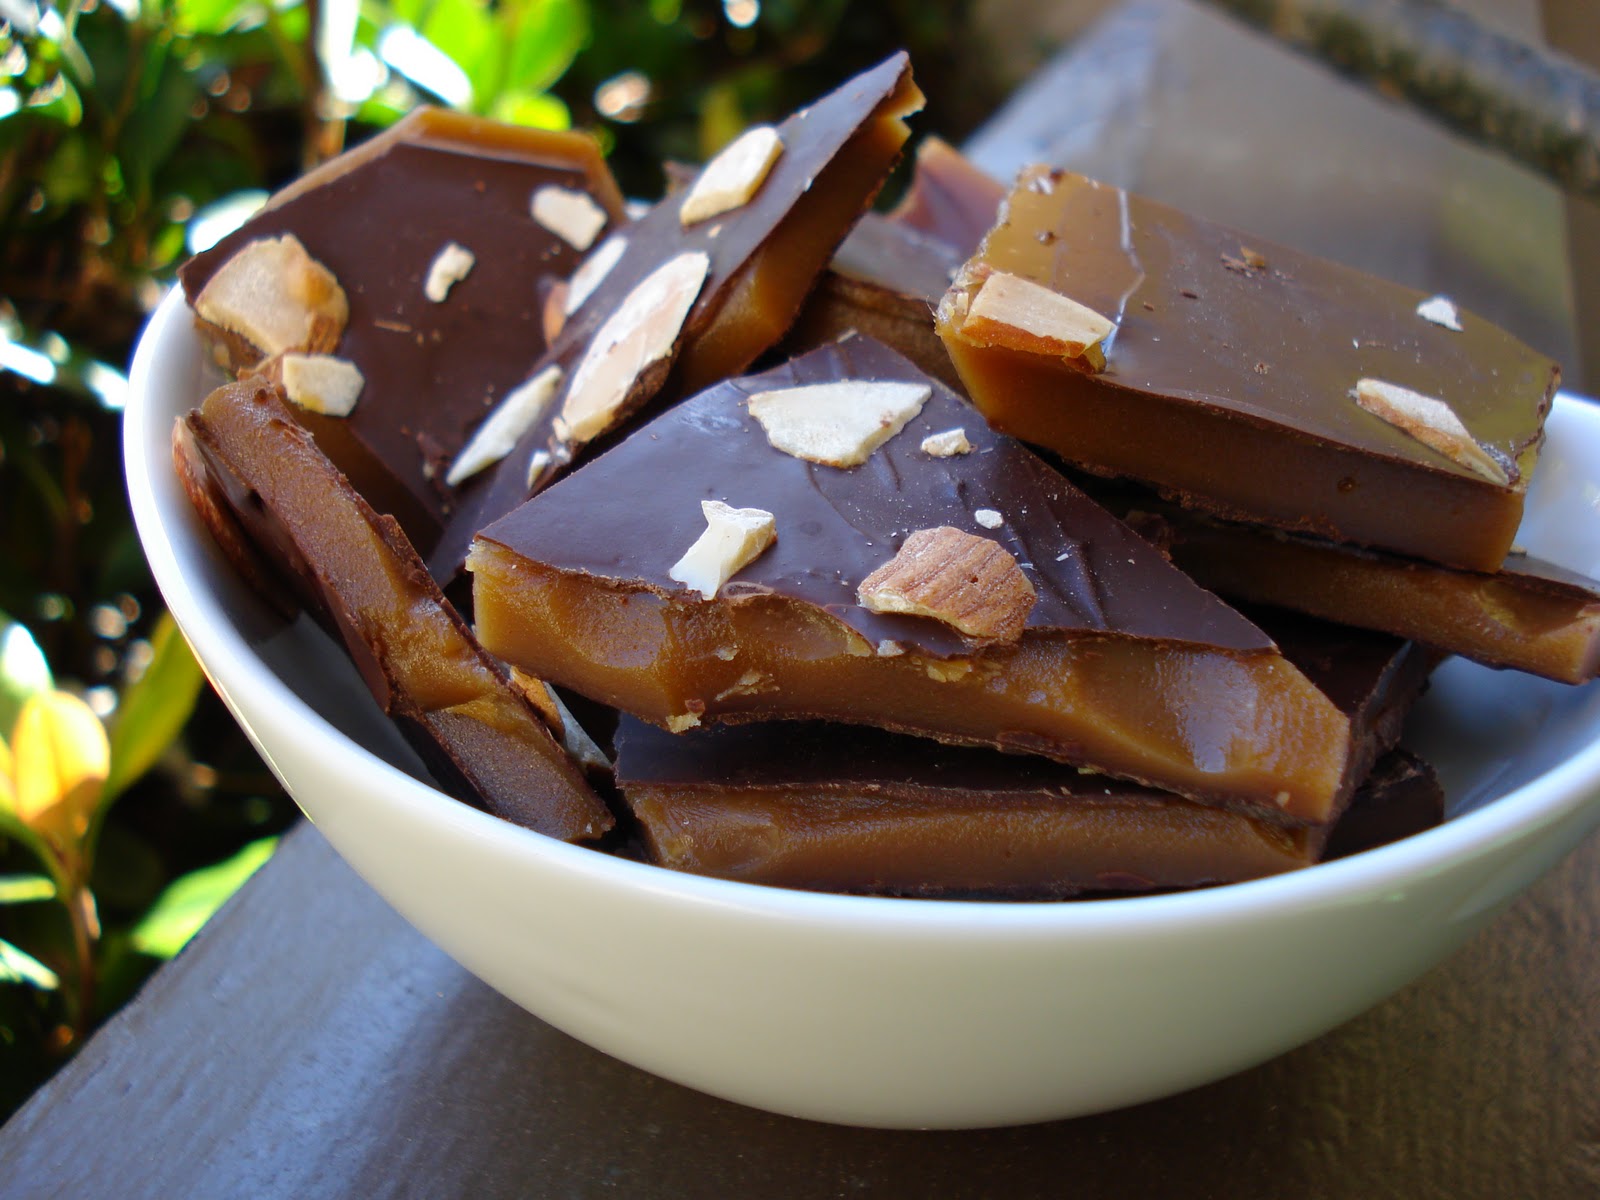
I got this recipe from The Kitchn. It is very simple and easy to make, and it is such a crowd pleaser. I ended up making 4 batches to give as gifts to friends and family, and I took a couple of plates of it to work, where it was devoured by hungry stagehands. The only thing I did differently than the original recipe was to coat both sides of the toffee in chocolate. I will give you instructions for that, if you choose to go that route like I did.
One thing I will mention about this recipe: don't try to rush it. I tried to make one batch in a hurry, and it was a total fail. I turned the heat on the stove way too high, and instead of the butter and sugar melting into each other, they separated. So I had a layer of browned sugar, and a layer of melted butter on top. So, keep the heat closer to medium than high, and be patient. The cooking part really only takes about 30 minutes anyway, so it's not like you'll spend a whole day cooking this stuff.
Skillet Toffee
makes about 2 1/4 pounds
1 pound unsalted butter
2 cups granulated sugar
1/2 teaspoon salt
1 teaspoon vanilla
8 ounces good quality semi-sweet chocolate, chopped (I used bittersweet chocolate chips)
3/4 cup chopped toasted blanched almonds
Line the bottom and sides of a 10-inch x 15-inch baking sheet with parchment paper.
In a large cast iron skillet, melt the butter over medium high heat. As the butter melts, stir in the sugar and salt. Continue stirring constantly and rapidly with a wooden spoon, keeping the sides of the pan clean by brushing occasionally with a wet pastry brush. The mixture should bubble as you stir. Cook until the mixture turns a deep golden brown, taking care not to burn it. Remove from the heat and stir in the vanilla.
Pour the mixture into the lined baking sheet. Allow to cool slightly, about 5 minutes, then sprinkle the mixture with the chocolate. When the chocolate looks glossy, spread it with an offset cake spatula or wooden spatula, and sprinkle with the nuts. Gently press the nuts into the chocolate with the palms of your hands.
Cool completely (at least 6 hours) then break the toffee into chunks.
FP notes: If you want to cover both sides with chocolate, here's what you do: After you have let the top layer of chocolate set/cool (this can be a couple of hours, or overnight), be very careful and flip the toffee over so that the non-chocolate side is on top, and keep it in the pan. Melt some chocolate in a double-boiler until it is spreadable. Pour the melted chocolate onto the toffee and spread it with an offset spatula. Let that cool and set for another few hours, and then you can break it into chunks.
One more thing: If you don't have an offset spatula, go buy one. Buy one now. Seriously. Most. Useful. Tool. Ever.
Keep the toffee in an airtight container, but don't put it in the fridge or the chocolate will bloom and your toffee will be ugly. It ships well, if you are wondering.
Candy 2: Marzipan

I made this marzipan for my dad. He absolutely loves the stuff, and I love to make it for him for Christmas. However, while I can make things taste good, I am not good at making them look good. My original plan was to make the marzipan shaped like fish, and paint them with food coloring (dad loves to fly fish). This was far beyond my abilities, and the fish looked like weird torpedoes. So, I reverted back to my standby: hearts. As you can see, some of them were coated in red sugar, some were fully coated in chocolate, and some were just partially dipped in chocolate. It all tasted good, and I'm pretty sure dad was happy regardless, so I'm going to consider it a success.
Making marzipan is a two-step process. First you make the almond paste, and then you turn that paste into marzipan. There are a couple of different ways to do it, but the method I use is the simpler of the two, and doesn't involve any cooking, just the use of the food processor.
I got the recipes from Truffles, Candies and Confections: Techniques and Recipes for Candymaking by Carole Bloom. This is not the first time I've made marzipan, and this is the recipe I always use.
Marzipan
Step 1: Almond Paste
Yield: 2 1/2 cups
1 1/2 cups whole, blanched almonds (fp note: i can never find whole blanched almonds, and i'm not about to blanch them myself, so i buy blanched slivered almonds)
1 1/2 cups confectioners' sugar, sifted, or more as needed
1 large egg white, lightly beaten
Combine the almonds and the 1 1/2 cups confectioners' sugar in a food processor fitted with a steel blade. Pulse the mixture until it is finely ground (about 1 minute) then add the egg white and process until the mixture forms a ball (about 30 seconds).
If the almond paste seems sticky, add more confectioners' sugar. 1 tablespoon at a time, until it is smooth. Tightly wrapped in plastic, the almond paste will keep for 3 months in the refrigerator or 6 months in the freezer. Bring the almond paste to room temperature before using.
At this point, I usually like to let the almond paste chill out in the fridge for a little while before proceeding to the next step. I'm not sure it's totally necessary, but I do it anyway.
Step 2: Making the marzipan
Yield: 1 pound
3 cups confectioners' sugar, sifted
1 recipe almond paste
2 large egg whites, lightly beaten
Here's what the book says: Dust a marble or wood board with a few tablespoons of the confectioners' sugar. Place the almond paste on the board and make a well in the center of the paste. Add the egg whites and 1 cup of the remaining confectioners' sugar.
Knead the mixture together, adding the remaining confectioners' sugar as needed to make a smooth and pliable texture (about 5 minutes). Marzipan should have the consistency of pie dough when completed.
Here's what I do: I tried doing it once with the books instructions, and it made a huge mess. Instead, I break up the almond paste into smaller chunks and put them in the food processor. Add the egg whites and pulse it until combined. Then add the confectioners' sugar, a little at a time, pulsing to combine, until you get the pie-dough consistency that the book calls for.
After that, I wrap it in plastic and put it back in the fridge until it has chilled. After it is chilled, I shape it. You can also tint the marzipan before shaping, using food coloring (I recommend the gel kind). My favorite way to eat it is dipped in chocolate, but it's delicious on its own too.
Candy 3: Candied Orange Peel

I made this for mom. It's one of her favorite candies, and she loves it both plain and dipped in chocolate. I had never made this before, so this was a bit of an adventure for me. It's also not a candy that I typically eat, so I'm trusting that mom is telling the truth when she said it was good. This recipe makes a ton of pieces, so keep that in mind. It also takes up quite a bit of time. It's not all hands-on, but you have to keep an eye on it.
When I went looking for recipes for this stuff, I found a couple of sources, but no one recipe that I really wanted to use, so I sort of combined two recipes, and I'm pretty pleased with the results. The bulk of the recipe came from the Carole Bloom book. I found a "recipe" on a blog that I used a little of the technique from, but the blogger didn't include any real measurements, which is why I had to find another recipe.
Candied Orange Peel
6 to 8 navel oranges
6 cups (or something like that) sugar
1/4 cup Grand Marnier or other orange-flavored liqueur (I used triple sec because that's what I had)
Slice the ends off of the oranges, and cut them in half. Juice the oranges (and then drink the juice -- yummy). After juicing, you can slice oranges into quarters, but it's not necessary. Put the orange peels in a large pot and cover with water. Bring the pot to a boil, and boil the oranges for 5 minutes. Drain off the water, and repeat the boiling process 2 more times.
After the 3 boil, drain the oranges, and rinse them with cold water. Remove and leftover pith and pulp (it should peel off easily). Slice the peels into strips. Put the strips back into the pan, and combine them with 3 cups of sugar, the orange liqueur, and a little more water (like 2 cups). Cook over low heat until the sugar is dissolved (about 5 minutes), stirring constantly. Continue to cook over low heat for 1 1/2 hours, stirring frequently.
Remove the orange slices from the pot with a slotted spoon and place on a wire rack to dry (put the rack over a sheet pan coated with wax paper to catch any drips) overnight. Once dry, roll the slices in the remaining sugar to coat. Store them in an airtight container in the fridge.
You can eat them plain, or dip them in chocolate. It's up to you.
The toffee was AMAZING. It's all in my belly.
ReplyDelete